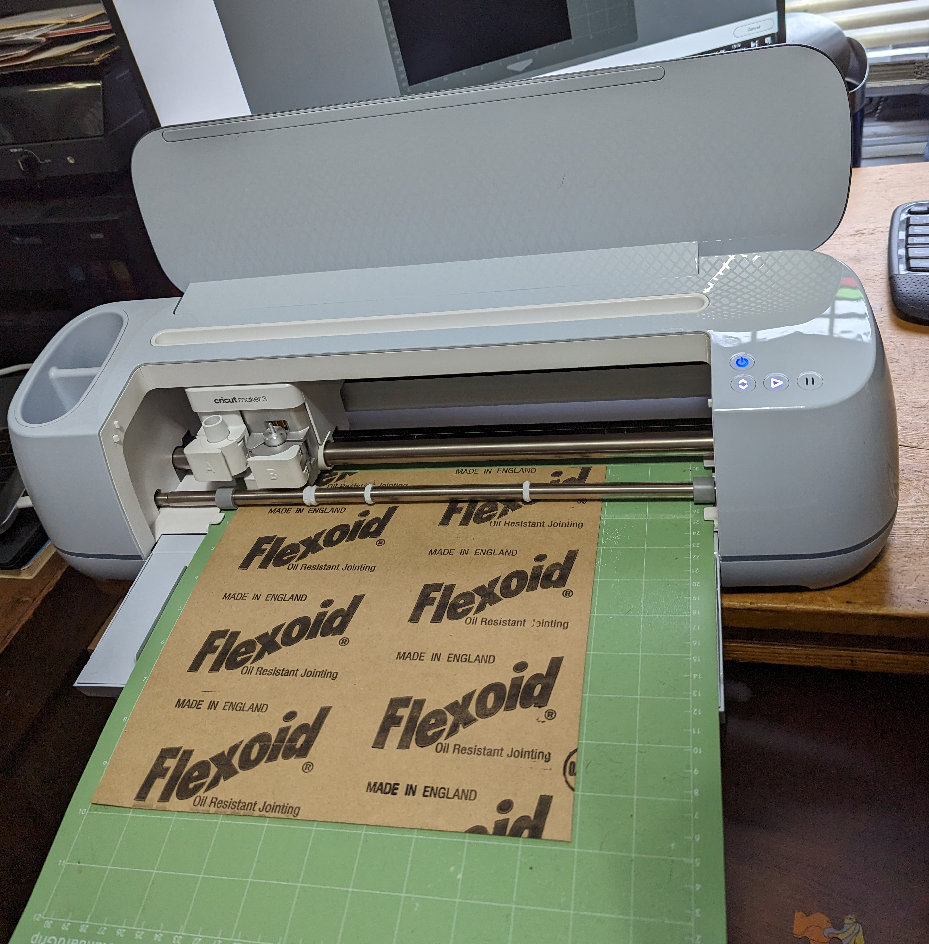
Cutting Gaskets with a Cricut Maker 3
I started with an original gasket and needed 2 of them, but if you don’t have one to scan it would be possible to design and cut one rather that scanning it.
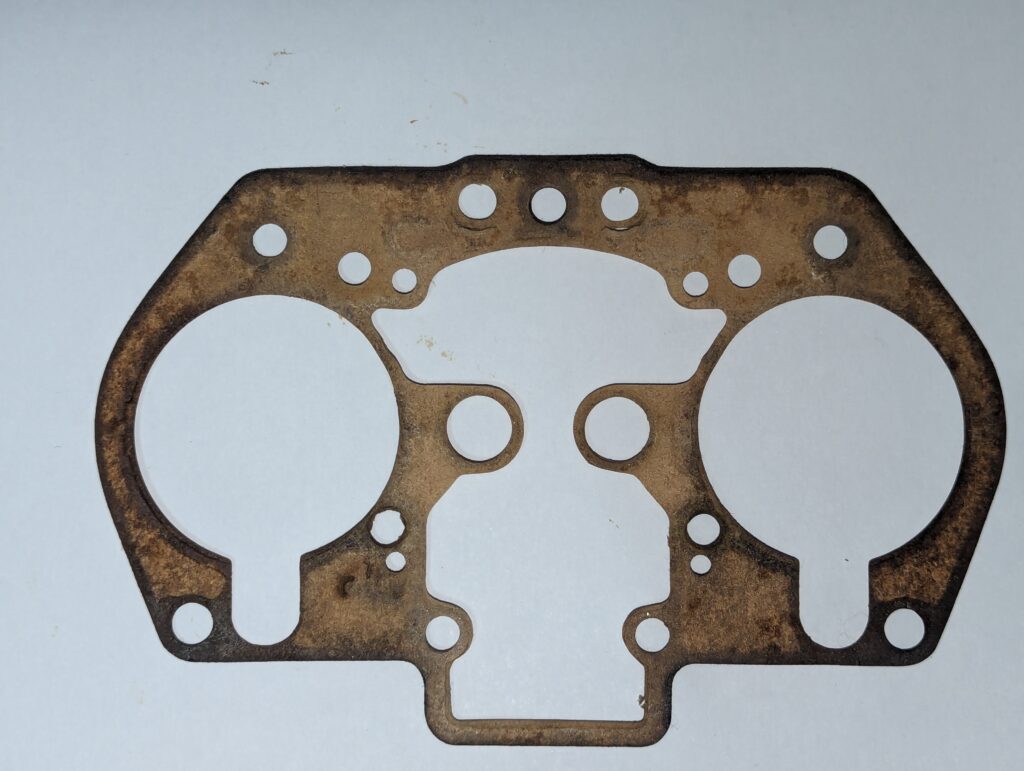
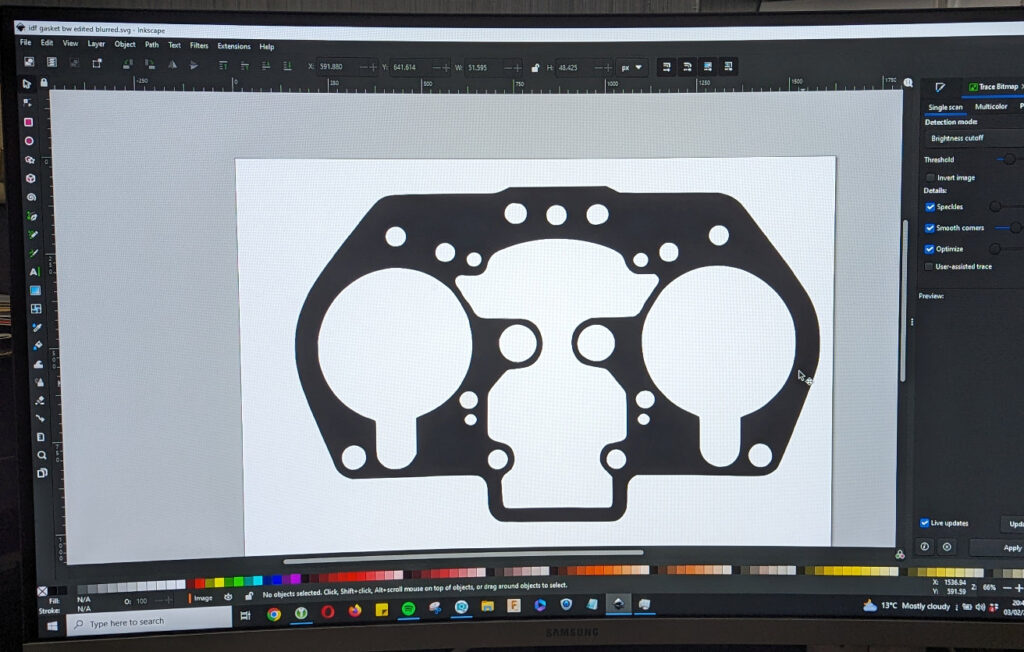
The original gasket was scanned and edited in a graphics package to convert it to greyscale and then to a 2 colour black a white image.
The scan was then imported into Inkscape to create a vector file that could be tidied to remove a few scanning errors.
For the first test run using the Cricut Maker 3 the material was set to heavy card and the standard fine point blade used – the pressure was set to maximum.
The width was set in Cricut Design Space to match that of the original gasket.
This run used the cardboard packaging from a pack of beer as it was roughly the correct thickness (0.8mm)
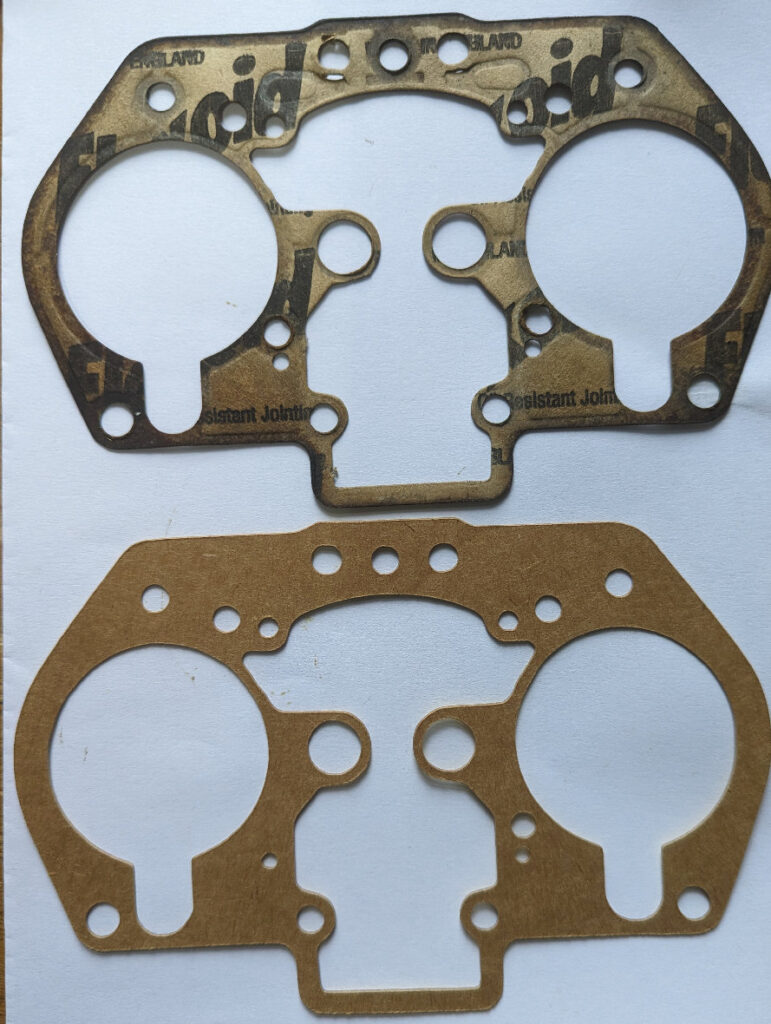
One hole was missing and required re-editing, but otherwise this test run confirmed the process was possible and a trial fitting confirmed most dimensions were correct.
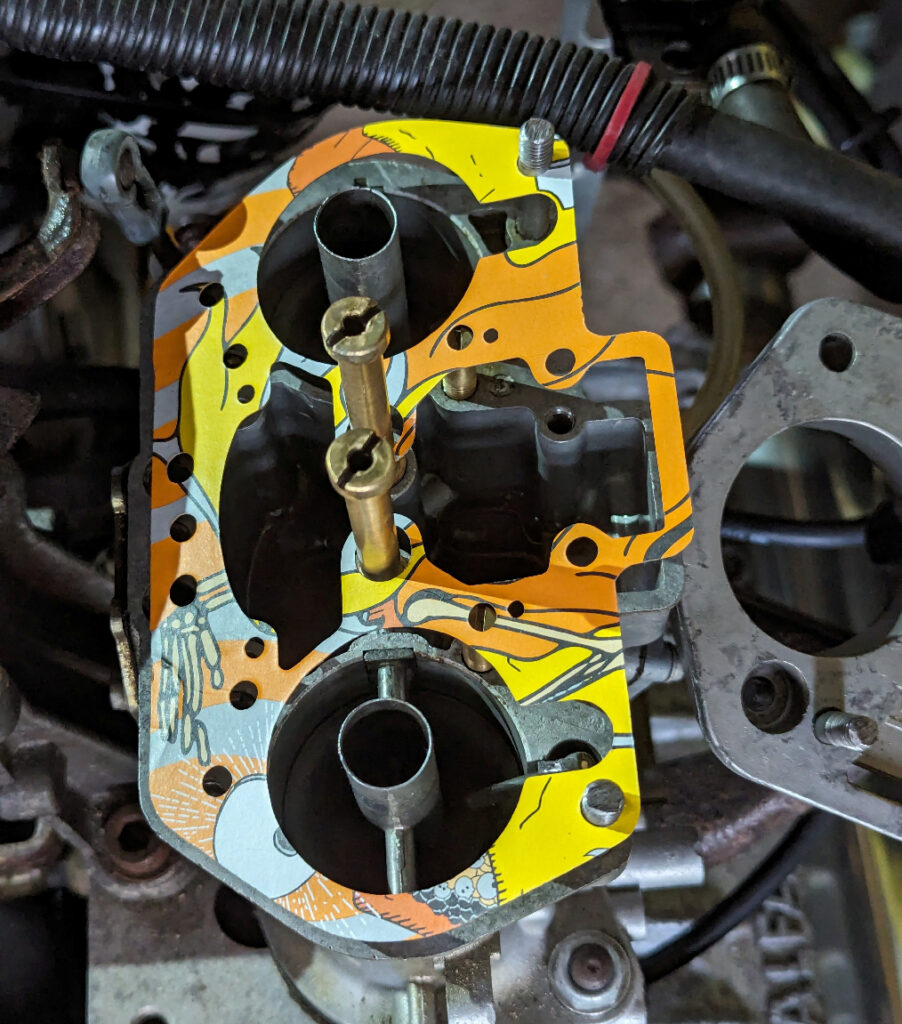
Once happy with the design the real runs used proper Flexoid gasket paper (0.8mm) with the same settings as before.
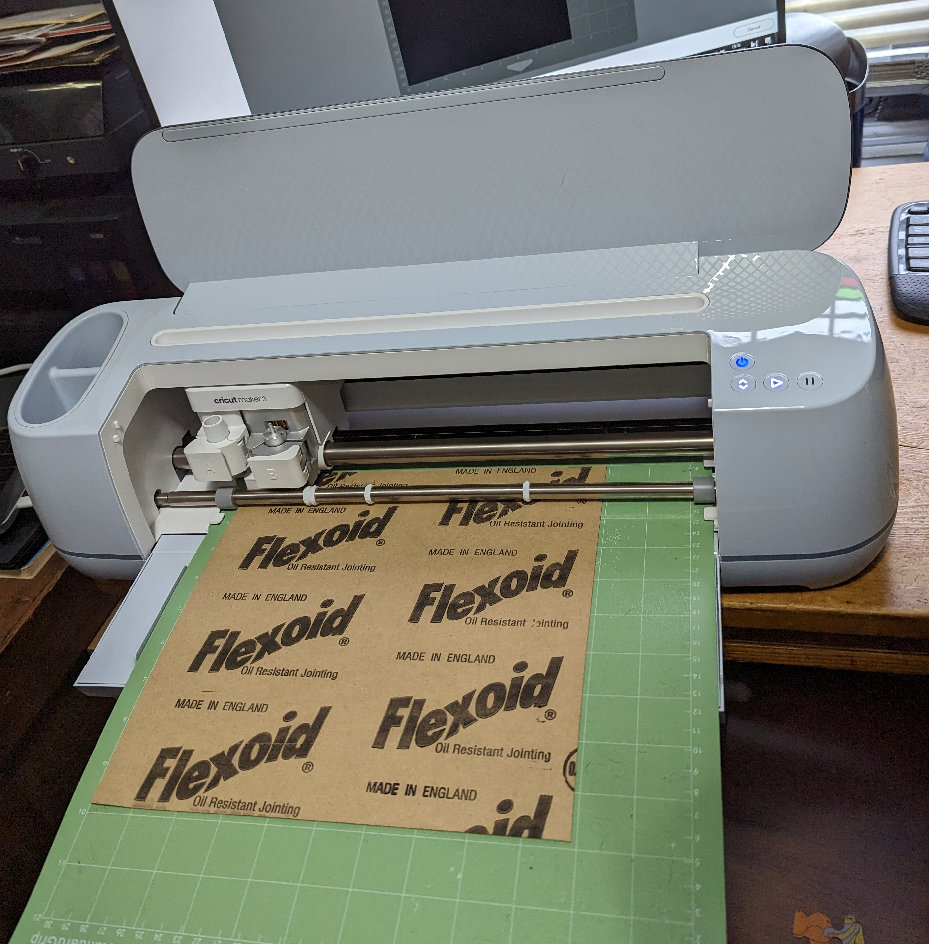
The gasket paper pulled away easy and with the pressure setting causing 2 cuts to be made the cuts were all clean and fully through the gaskets.
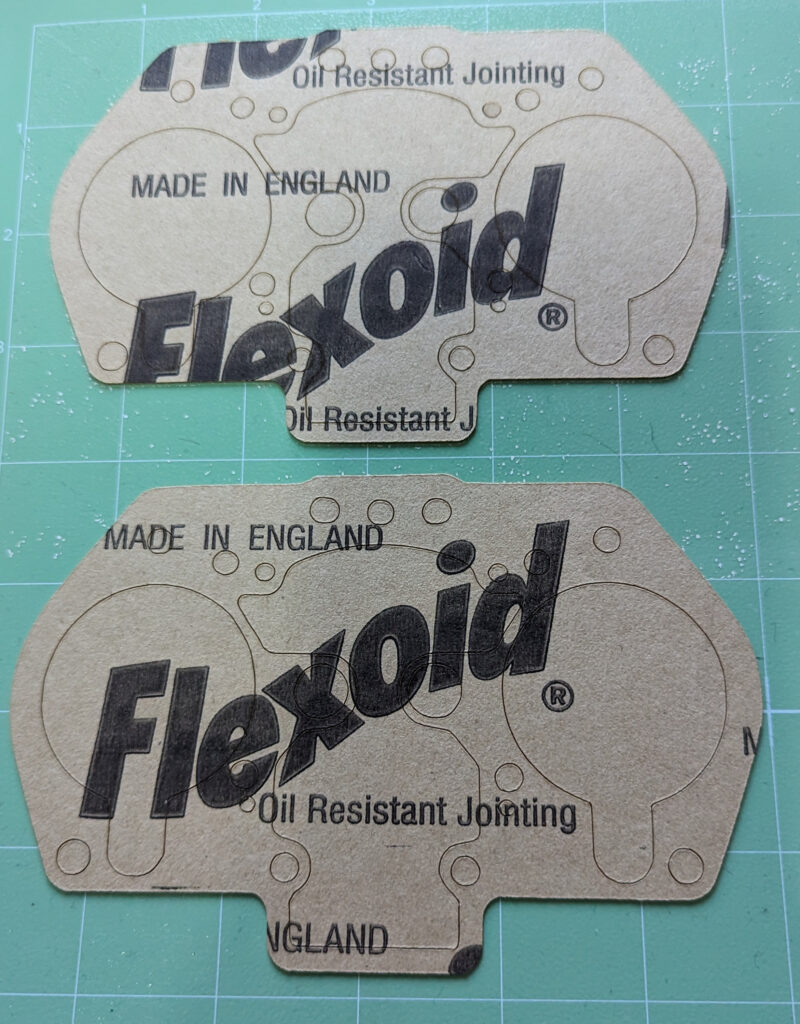
The gaskets pulled away from the cutting mat without issues
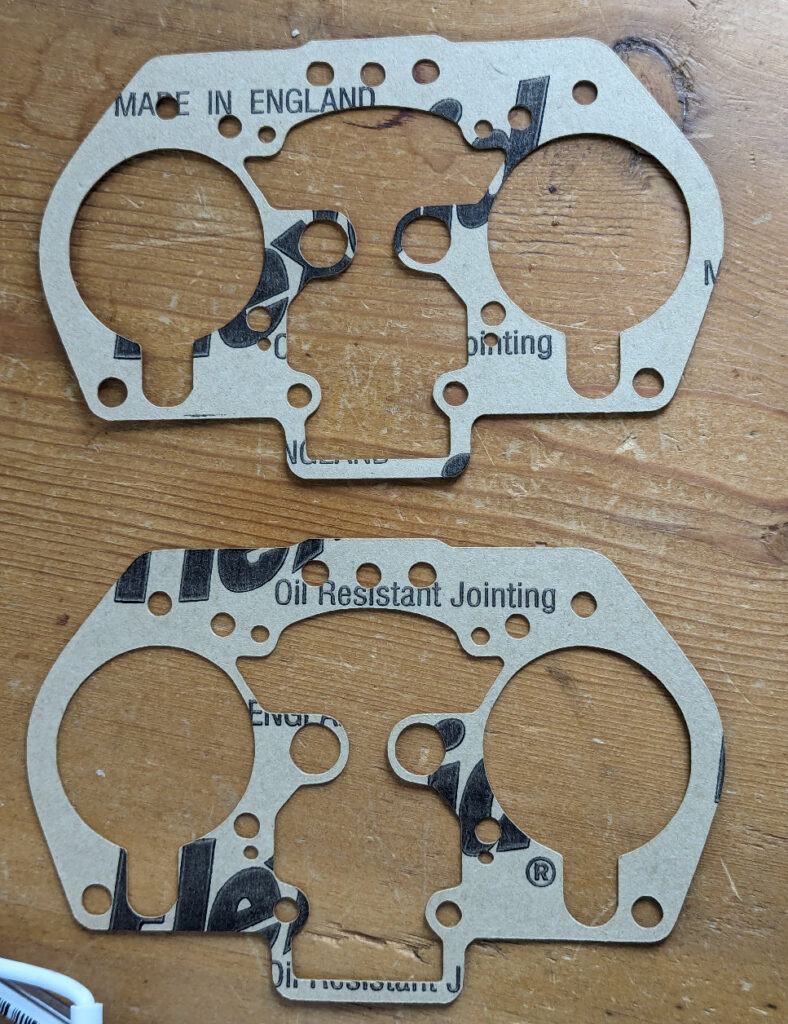
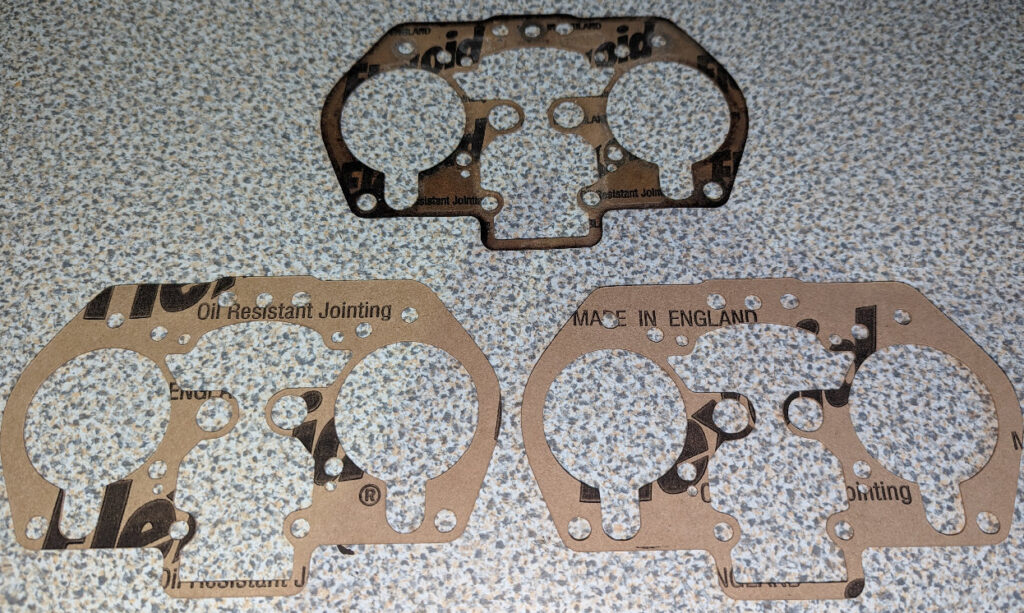
The 2 new gaskets alongside the original that was scanned
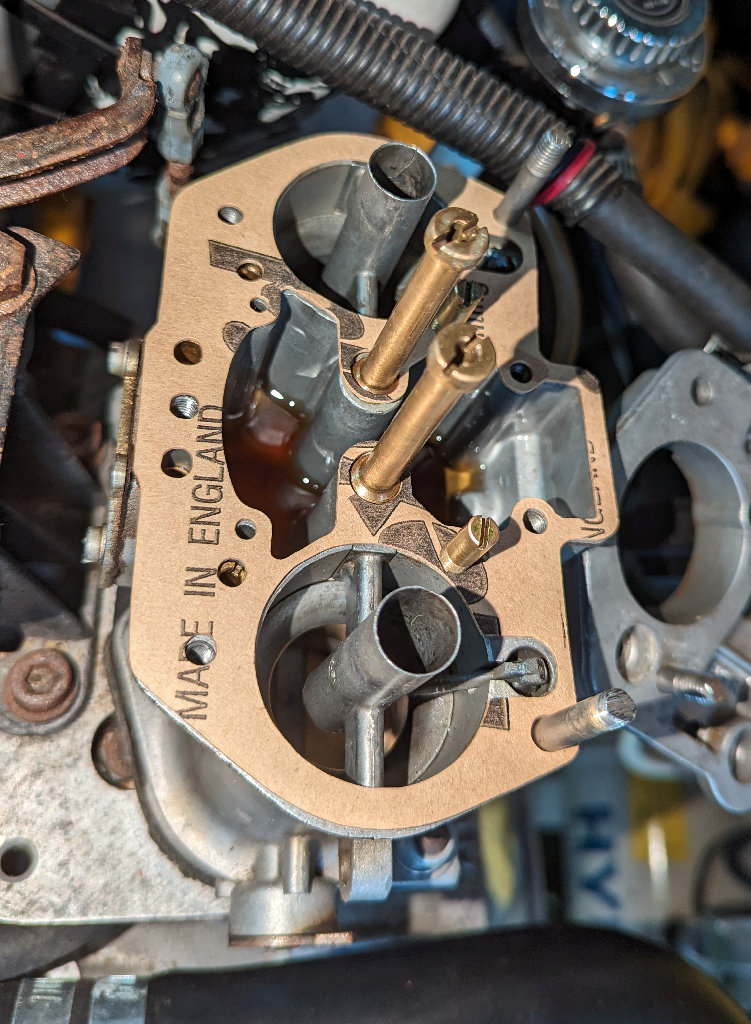
New gasket fitted successfully on the Weber Carburettor


-
-
4 years
Tagged Juke box, jukebox, labels, lables